
ADULT SUPERVISION RECOMMENDED. SMALL PARTS.
Instructions
For more detailed instructions and video tutorials, please visit WWW.PLBFUN.COM/INSTRUCTIONS
How it works
Our Design Your Own Personalized Water Bottle Craft Kit has everything you need to create a personalized water bottle with the included letters and symbols, and the 18 design sleeves.
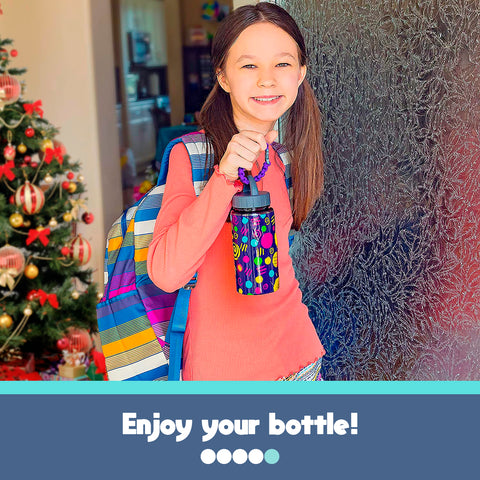
Bonus: Create a paracord bracelet to wear, or to use to attach the bottle to your backpack!
Setting up
- Set up a work area before you begin. You will need a standard hair dryer to complete this craft
- Lay out the contents of the craft kit so all your materials and tools are within reach.
- Follow the included instructions. For additional tips and video tutorials, visit WWW.PLBFUN.COM/INSTRUCTIONS
Layout your stickers:
- Your personalized stickers go on first, before you shrink the design sleeve over them. They fit vertically on the bottle, so they display through the window in the design sleeve.
- To lay them out, take one of the design sleeves, open it up, and slip it over the bottle to determine the location of your window.
- Then slip off the design sleeve and layout your personalized letters to match up with the window location. You can fit 4 letters vertically within the window on a design sleeve.
- Once you’ve laid out your letters, you’re ready to shrink your design sleeve over the bottle.

Shrinking the design sleeve:
- Remove the cap from the bottle before you start this step.
- Pick one of the design sleeves to use and open it up.
- Slide the design sleeve over the bottle. It is taller than the bottle.

- This is fine, as it will be shrunk over the bottle once you warm it up with a hair dryer.
- The sleeve should overhang the bottom of the bottle by about 1/2 “ or 12mm. (This ensures the sleeve doesn’t overlap the cap thread as you shrink it)
- Make sure to line up the window in the design with your letters before you shrink it.
- Get a wooden spoon and stick it into the bottle. Hold the bottle upside down by the spoon. This will keep your hand away from the hair dryer’s heat.
The next steps need to be done by an adult
- Once the sleeve is lined up, take a hair dryer, and gently apply heat to the sleeve, keeping it around 8” (20cm) away from the sleeve. (This will vary depending on your hair dryer).
- Within a few seconds, the design sleeve will begin to shrink around the bottle. Make sure to constantly move the bottle and hair dryer to apply even heat around the entire sleeve as you shrink it on.

- Once the shrinking process is complete, you’re ready to enjoy your water bottle!
Replacing the design sleeve:
- To replace your design sleeve, simply peel the current sleeve on the bottle, and repeat the step above to apply a new one.
- There are 18 sleeves included (6 designs, 3 of each design), so you can change your design quite often.
Making the Paracord Bracelet:
- This craft kit includes a paracord bracelet kit that can be worn as a bracelet or can be used to loop through the bottle top and hold the bottle to a backpack.
- We recommend you head over to WWW.PLBFUN.COM/INSTRUCTIONS for a detailed video on making paracord bracelets.
- The basic cobra stitch bracelet is an easy place to start.
- Take a length of paracord and find the middle.
- Do a cow loop though one end of the buckle.
- Put loose ends of the paracord through the other buckle. Make sure they’re facing the same way.
- At this point, wrap it around your wrist to size the bracelet.
- Right over and under.
- Left under and through and tighten.
- Right under and over .
- Left over and through and tighten.
- Repeat 1-4 until you finish.
- If you see the bracelet beginning to twist, you’ve done the same side twice in a row. Go back and re-do it.
- Use scissors to trim the excess paracord when you reach the end.
- Ask an adult to use a lighter to slightly melt the ends of the cut paracord so it doesn’t fray.
- This is a pretty easy process, but one that’s easier to follow on video.
- Go to WWW.PLBFUN.COM/INSTRUCTIONS for a tutorial.
Show us your stuff
We love to see your creations. Share them on social media and tag us @PLBFUN
We regularly give prizes to our fans that share their creations.
When you share, you’re entered.